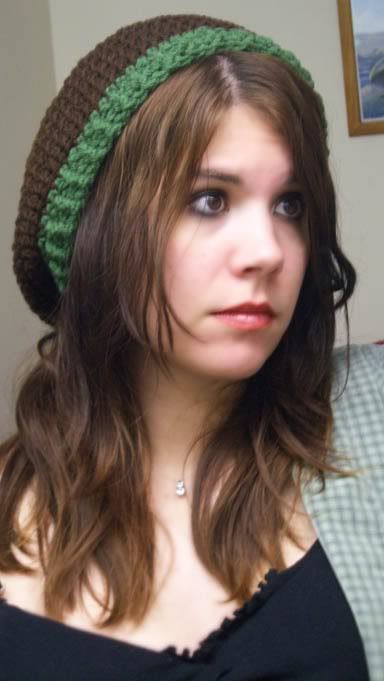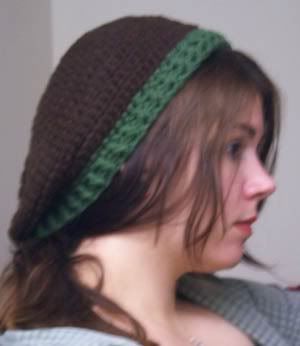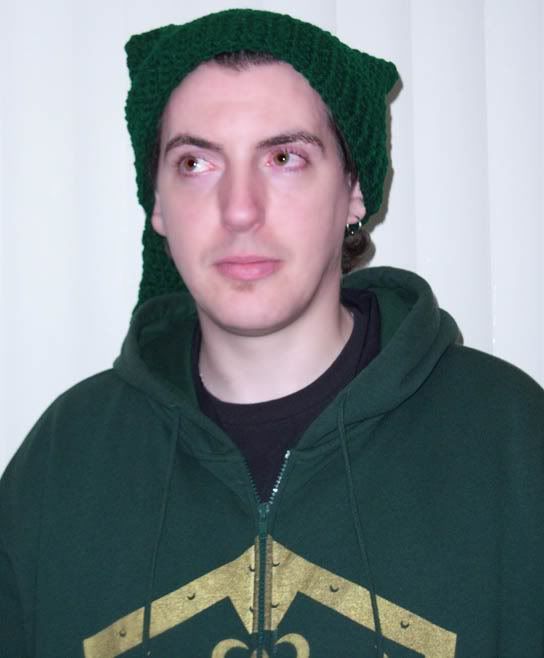
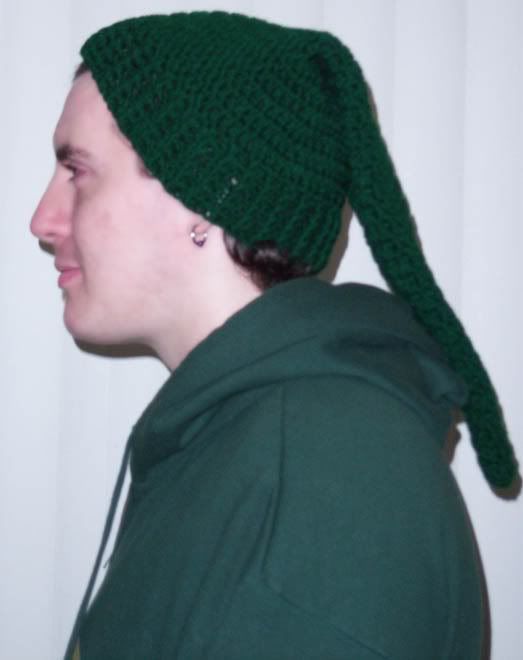
I decided to make my husband a Link Hat. We have been watching a lot of "The Legend of Neil" lately and he is a major Zelda fan so I killed two birds with one stone :D The best part is I didn't have to model this one ;) So for those of you who love Zelda or want to make a Link costume for Halloween now you can ;D
Zelda Link Hat
By: AprilDraven
For personal use only
Gauge: 4 inches = 12 stitches and 8 rows
My head size is 22 and a half inches around so adjust your hook size accordingly. Remember yarn stretches a little bit so this hat will fit inches bigger too.
Yarn: regular 4 ply worsted yarn
H hook
Abbreviations:
Rnd: round
Sc: single crochet
Hdc: half double crochet
Dc: double crochet
Ss: slip stitch
FO: Fasten off
Fpdc: Front post double crochet
Bpdc: Back post double crochet
(Work in the round, with a marker, unless specified differently)
Ch 1 or use magic circle
Rnd 1: Ch 2, 8 dc in ring (ch 2 counts as a dc)
Rnd 2: dc in each dc around
Rnd 3: *1 dc, 2 dc in next dc* rep from * to * around (12)
Rnd 4: dc in each dc around
Rnd 5: *2 dc, 2 dc in next dc* rep from * to * around (16)
Rnd 6: dc in each dc around
Rnd 7: *3 dc, 2 dc in next dc* rep from * to * around (20)
Rnd 8: dc in each dc around
Rnd 9: *4 dc, 2 dc in next dc* rep from * to * around (24)
Rnd 10: dc in each dc around
Rnd 11: *5 dc, 2 dc in next dc* rep from * to * around (28)
Rnd 12: dc in each dc around
Rnd 13: *6 dc, 2 dc in next dc* rep from * to * around (32)
Rnd 14: dc in each dc around
Rnd 15: *7 dc, 2 dc in next dc* rep from * to * around (36)
Rnd 16: dc in each dc around
Rnd 17: *8 dc, 2 dc in next dc* rep from * to * around (40)
Rnd 18: dc in each dc around
Rnd 19: *9 dc, 2 dc in next dc* rep from * to * around (44)
Rnd 20: dc in each dc around
Rnd 21: *10 dc, 2 dc in next dc* rep from * to * around (48)
Rnd 22: dc in each dc around
Rnd 23: *11 dc, 2 dc in next dc* rep from * to * around (52)
Rnd 24: dc in each dc around
Rnd 25: *12 dc, 2 dc in next dc* rep from * to * around (56)
Rnd 26: dc in each dc around
Rnd 27: *13 dc, 2 dc in next dc* rep from * to * around (60)
Rnd 28: dc in each dc around
Rnd 29: *14 dc, 2 dc in next dc* rep from * to * around (64)
Rnd 30: dc in each dc around
Rnd 31: *15 dc, 2 dc in next dc* rep from * to * around (68)
Rnd 32: dc in each dc around
Rnd 33: *16 dc, 2 dc in next dc* rep from * to * around (72)
Rnd 34: hdc in each dc around, join with 1 ss
Rnd 35-40: ch 2, * 1 fpdc, 1 bpdc* rep from * to * around, join with 1 ss to top of first fpdc (6 rounds)
FO
This Pattern hasn't been tested yet. If you run into any problems let me know. Everything should be fine though :D
**********************************************************************
This work by April Folts is licensed under a Creative Commons Attribution-Noncommercial-No Derivative Works 3.0 United States License.
*******************************************************************************
Any donations are welcome and appreciated.
Saturday, September 26, 2009
Tuesday, September 22, 2009
Zelda Triforce Hat Free Pattern
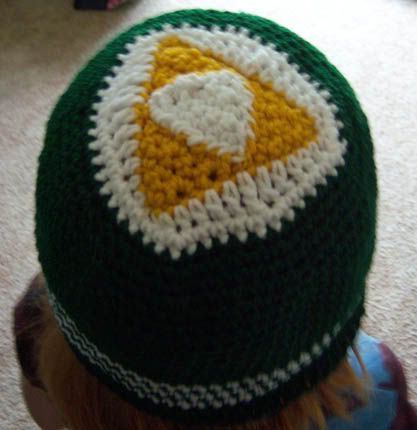
Ok so I am a HUGE Geek! LOL My Husband is an even bigger one though ;) I made this hat for him. I am getting sick of modeling the hats so I might invest in a mannequin head *sigh* I was going to have my husband model it but he is at work and I couldn't wait ;D Instead I had my daughter wear it so I could get a picture of the top.
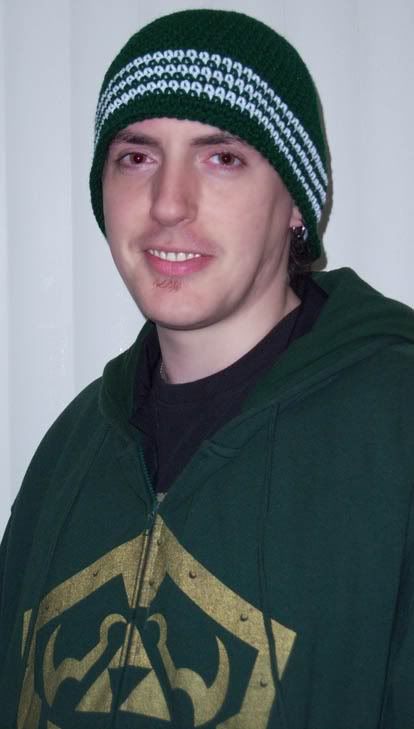
The cool thing is it looks all normal from the front but the top... hehe.
*****UPDATE*****
I finally got him to model YAY!
Triforce Hat
By: AprilDraven
For personal use only
Gauge: 4 inches = 13 stitches and 14 rows
Yarn: regular 4 ply worsted yarn
H hook
Abbreviations:
Rnd: round
Sc: single crochet
Hdc: half double crochet
Dc: double crochet
Trc: triple crochet
Ss: slip stitch
FO: Fasten off
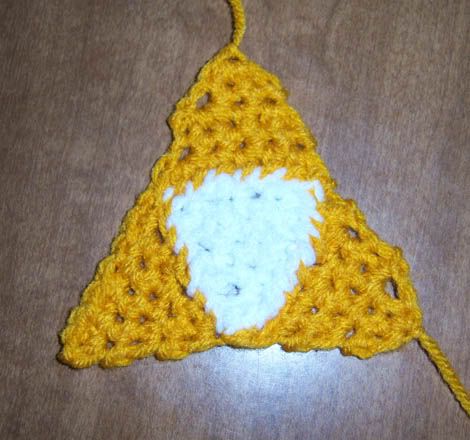
Triangles (Make 3 Gold and 1 White)
ch 1 or use magic circle
Row 1: Work 3 sc in first ch, ch 1, turn
Row 2: sc in each sc across, ch 1, turn (3)
Row 3: 2 sc in next sc, 1 sc, 2 sc in next sc, ch 1, turn (5)
Row 4: Sc in each sc across, ch 1, turn (1 row)
Row 5: 2 sc in next sc, 3 sc, 2 sc in next sc, ch 1, turn (7)
FO
Sew pieces together
With gold ss to the top of entire piece (the tip of any triangle)
Round 1:*11 ss down the side, in next stitch (the tip) 1 ss, ch 1, 1 ss* rep from * to * around (42) join and FO
Join White to top of any triangle
Rnd 2: *2 sc, 2 hdc, 2 dc, 1 trc, 2 dc, 2 hdc, 2 sc, 1 ss* rep from * to * around (42) join with 1 ss, ch 1
Rnd 3: sc in each sc around
Rnd 4: *sc 4, 2 sc in next sc* rep from * to * around (48)
Switch to green before joining with 1 ss. Join with 1 ss.
Rnd 5: sc in each sc around (48)
From here on work in the round with a marker
Rnd 6: *5 sc, 2 sc in next sc* rep from * to * around (56)
Rnd 7: sc in each sc around
Rnd 8: *6 sc, 2 sc in next sc* rep from * to * around (64)
Rnd 9: sc in each sc around
Rnd 10: *7 sc, 2 sc in next sc* rep from * to * around (72)
Rnd 11-18: Sc in each sc around
Switch to white before joining, join with 1 ss
Rnd 19: ch 1, sc in each sc around
Switch to green before joining, join with 1 ss
Rnd 20: ch 1, sc in each sc around
Switch to white before joining, join with 1 ss
Rnd 21: ch 1, sc in each sc around
Switch to green before joining, join with 1 ss
Rnd 22: ch 1, sc in each sc around
Switch to white before joining, join with 1 ss
Rnd 23: ch 1, sc in each sc around
Switch to green before joining, join with 1 ss
From here on work in the round again with a marker
Rnd 24-26: sc in each sc around
FO
**********************************************************************
This work by April Folts is licensed under a Creative Commons Attribution-Noncommercial-No Derivative Works 3.0 United States License.
*******************************************************************************
Any donations are welcome and appreciated.
Monday, September 21, 2009
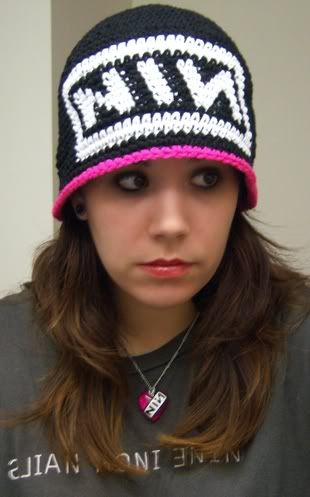
Nine Inch Nails Hat *Free Pattern*
I have made quite a few of these hats. I just love Nine Inch Nails :D My favorite band EVER! so I decided to share the pattern.
This is a good pattern for a base beanie. Just make without the NIN for a plain hat or switch up colors and patterns.
*****UPDATE 11-23-09*****
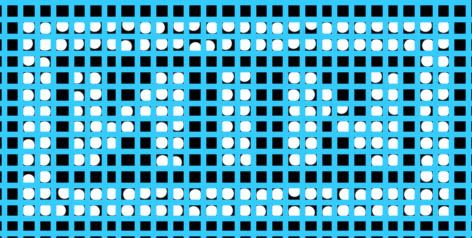
I made a tutorial on how to switch colors and use a chart
Here is the link
*************************
Nine Inch Nails Beanie
by: AprilDraven
for personal use only
Gauge: 4 inches = 13 stitches and 14 rows
My head size is 22 and a half inches around so adjust your hook size accordingly. Remember yarn stretches a little bit so this hat will fit inches bigger too.
Yarn: regular 4 ply worsted yarn
H hook
Abbreviations:
Rnd: round
Sc: single crochet
Ss: slip stitch
FO: Fasten off
*NOTE: use a marker and work in rounds*
With black ch 1 or form magic circle
Rnd 1: 8 sc in ring
Rnd 2: 2 sc in each sc around (16)
Rnd 3: *1 sc, 2 sc in next sc* rep from * to * around (24)
Rnd 4: *2 sc, 2 sc in next sc* rep from * to * around (32)
Rnd 5: *3 sc, 2 sc in next sc* rep from * to * around (40)
Rnd 6: sc in each sc around
Rnd 7: *4 sc, 2 sc in next sc* rep from * to * around (48)
Rnd 8: sc in each sc around
Rnd 9: *5 sc, 2 sc in next sc* rep from * to * around (56)
Rnd 10: sc in each sc around
Rnd 11: *6 sc, 2 sc in next sc* rep from * to * around (64)
Rnd 12: sc in each sc around
Rnd 13: *7 sc, 2 sc in next sc* rep from * to * around (72)
RND 14&15: sc in each sc around (2 rounds)
RND 16: sc 20, then start the white in the pattern
Rnd 17-27: sc in each sc around (11 rounds)(this should complete the pattern)
Rnd 28&29: sc in each sc around (2 rounds)(this should be the main hat color)
Rnd 30: sc in each sc around (this is the trim color) ss 1
FO
The picture is upside down so it is easier to put on a hat :D
Oh and some cool trivia for ya: The Fragile was released in September 1999 so this is an awesome 10 year tribute to the band :D
***********************************************************************************
Here is a better base beanie pattern.
BASE BEANIE PATTERN:
by AprilDraven
for personal use only
Gauge: 4 inches = 13 stitches and 14 rows
My head size is 22 and a half inches around so adjust your hook size accordingly. Remember yarn stretches a little bit so this hat will fit inches bigger too.
Yarn: regular 4 ply worsted yarn
H hook
Rnd 1: 8 sc in ring
Rnd 2: 2 sc in each sc around (16)
Rnd 3: *1 sc, 2 sc in next sc* rep from * to * around (24)
Rnd 4: *2 sc, 2 sc in next sc* rep from * to * around (32)
Rnd 5: *3 sc, 2 sc in next sc* rep from * to * around (40)
Rnd 6: *4 sc, 2 sc in next sc* rep from * to * around (48)
Rnd 7: *5 sc, 2 sc in next sc* rep from * to * around (56)
Rnd 8: sc in each sc around
Rnd 9: *6 sc, 2 sc in next sc* rep from * to * around (64)
Rnd 10: sc in each sc around
Rnd 11: *7 sc, 2 sc in next sc* rep from * to * around (72)
RND 12-30: sc in each sc around (19 rounds)
**********************************************************************
This work by April Folts is licensed under a Creative Commons Attribution-Noncommercial-No Derivative Works 3.0 United States License.
*******************************************************************************
Any donations are welcome and appreciated.
Sunday, September 20, 2009
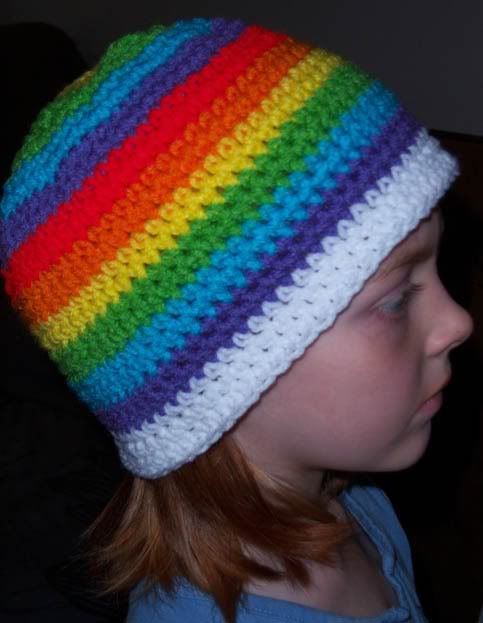
Child's Rainbow Star Beanie
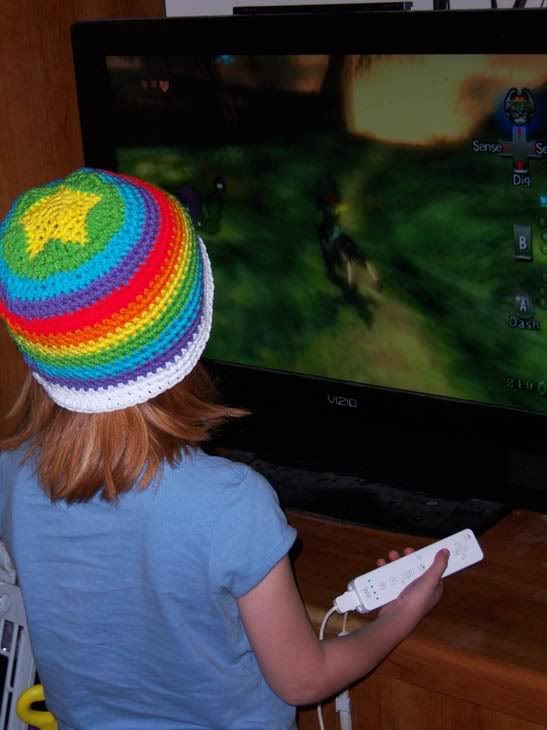
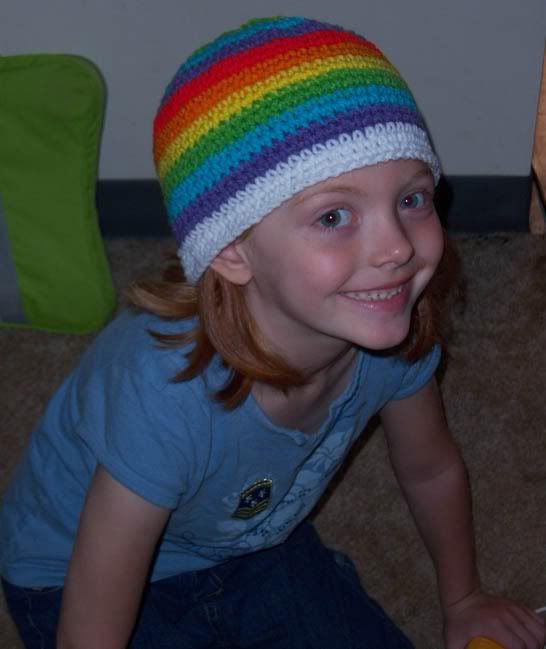
Ok so I have been on a hat kick lately so I decided to make my daughter another rainbow hat. It is too warm for the other one but it is getting chilly so I figured a beanie hat would do the trick. I like to make her hats in rainbow colors so she will stand out easily.
Me: "Picture time sweetheart."
Her: "I'm playing link."
Me: "fine, play link, but you have to smile just once and look at the camera once."
Her: "Okaaaaaaaay"
I have the pattern available for $3.00 in My Etsy Shop if anyone is interested.
Me: "Picture time sweetheart."
Her: "I'm playing link."
Me: "fine, play link, but you have to smile just once and look at the camera once."
Her: "Okaaaaaaaay"
I have the pattern available for $3.00 in My Etsy Shop if anyone is interested.
Saturday, September 19, 2009
Queen of Hearts Slouchy Hat
Ok so it really isn't Queen of hearts, but that is what inspired me. I was playing around with the Star Slouchy hat and decided to make a heart.
I have the pattern available for $3.00 in My Etsy Shop if anyone is interested.
Wednesday, September 16, 2009
Star Slouchy Hat
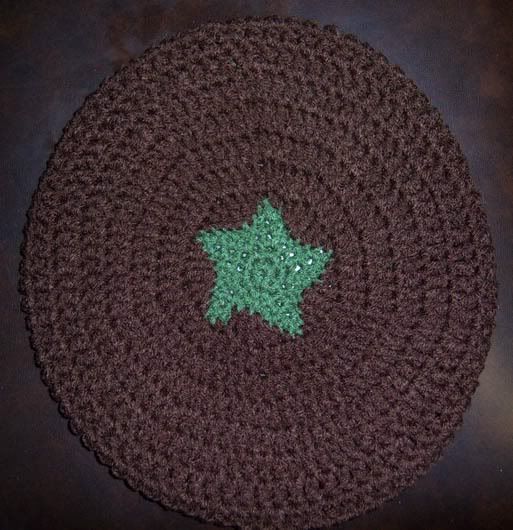
So I was making a ton of stars for my daughter and her friends (just tiny stuffed stars with googly eyes) when this idea hit me. Wouldn't it be cool to have a hat with a star in the middle? I made a rainbow one but I didn't like how it turned out (I did the color scheme wrong) so I made this one to match my Browncoat hoodie, hehe I love Joss Whedon, anyways I liked how it turned out. I have the pattern available for $3.00 in My Etsy Shop if anyone is interested :)
sorry about the bad pics. It is really hard to get a good pic in the bathroom mirror. This is like the 20th pic and one of the only ones that wasn't blurry :-\
Tuesday, September 15, 2009
Bella's Hat *Free Pattern* (Twilight)
****UPDATE****
Yay! This hat is now on GEEK CRAFTS :D
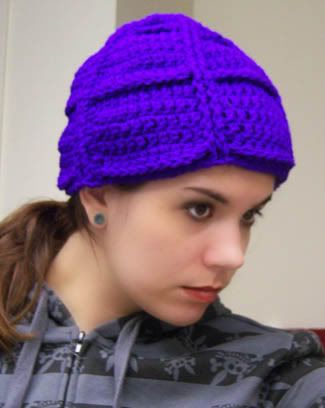
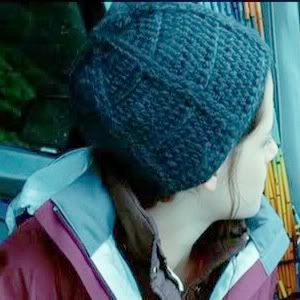
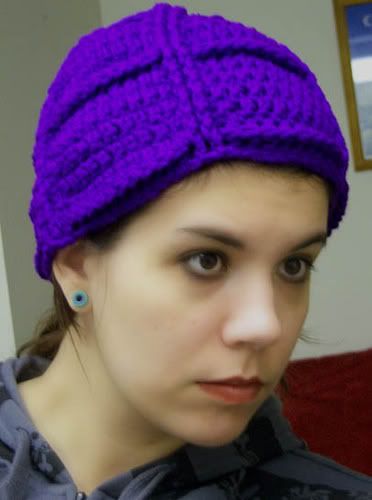
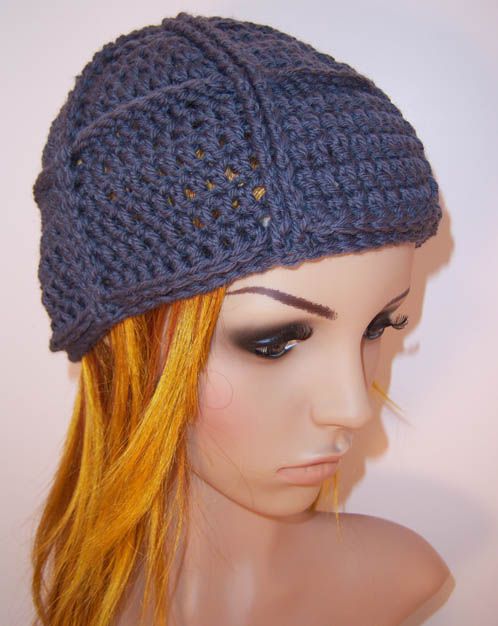
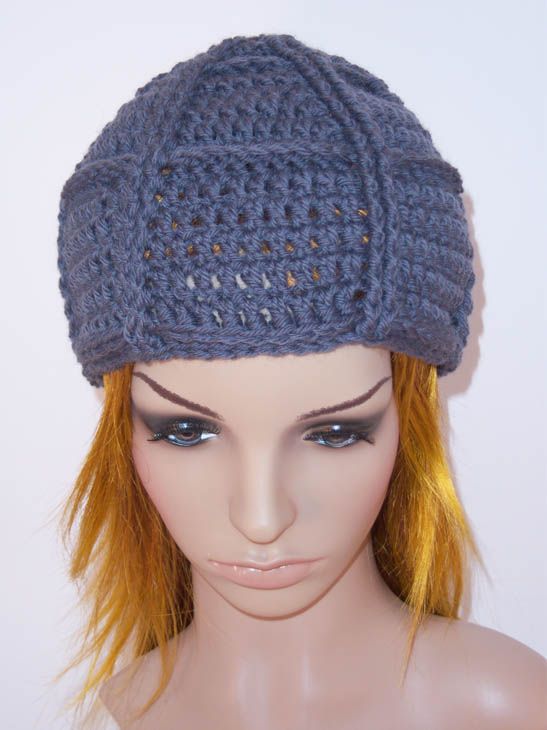
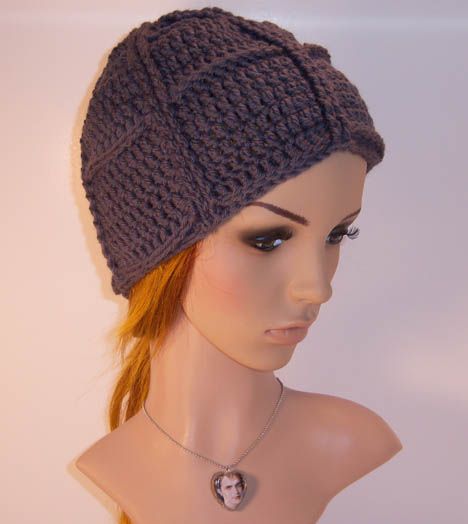
Ok so I was in my dreamy (OMG I can't wait till New Moon comes out) state (Yes I am a 26 year old Twilight mom. Don't judge :P) and I decided to try and make Bella's La Push hat. First I decided to check and see if anyone else had made it. Yep it had been done but what did I find wrong with the patterns? They left out the top ring. (You can see it in this picture)
I am obsessed with details, as some of you may know, so that just bugged the heck out of me. I had to do something. So I made this hat. Unfortunately even in my obsessive state of mind I can't control the fact that Walmart doesn't carry the right color of Grey grrrrrrrrr. So I just made a purple one. Since the movie is coming out soon I decided to post the pattern so you all can enjoy it :D
Sorry for the horrible pics of my head but it is really hard to take pics of yourself in the bathroom mirror lol
NOTE: if you don't know what fpdc or bpdc is just check out some videos on youtube or nextstitch it is really easy.
Bella's Hat Pattern
by: AprilDraven
for personal use only
Gauge: 4 inches = 12 stitches and 8 rows
My head size is 22 and a half inches around so adjust your hook size accordingly. Remember yarn stretches a little bit so this hat will fit inches bigger too.
Yarn: regular 4 ply worsted yarn
Hook size: H/8-5.00MM
Abbreviation meanings:
Rnd: round
Ch: chain
Dc: double crochet
Fpdc: Front post double crochet
Bpdc: Back post double crochet
Ss: slip stitch
Fpsc: Front Post single crochet
FO: Fasten off
Ch 1 or use magic circle, Ch 2
Rnd 1: 12 dc in ring, join with 1 ss, (ch 2 doesn’t count as a dc) (12)
Rnd 2: ch 2, * 2fpdc around next dc, 1 dc* rep from * to * around, join with 1 ss (18)
Rnd 3: ch 2, * 2 fpdc, 2 dc in next dc* rep from * to * around, join with 1 ss (24)
Rnd 4: ch 2, * 2 fpdc, 1 dc, 2 dc in next dc* rep from * to * around, join with 1 ss (30)
Rnd 5: ch 2, * 2 fpdc, 2 dc, 2 dc in next dc* rep from * to * around, join with 1 ss (36)
Rnd 6: ch 2, *2 fpdc, 3 bpdc, 2 bpdc around next dc* rep from * to * around, join with 1 ss (42)
Rnd 7: ch 2, *2 fpdc, 4 dc, 2dc in next dc* rep from * to * around, join with 1 ss (48)
Rnd 8: ch 2, *2 fpdc, 5 dc, 2dc in next dc* rep from * to * around, join with 1 ss (54)
Rnd 9: ch 2, *2 fpdc, 6 dc, 2dc in next dc* rep from * to * around, join with 1 ss (60)
Rnd 10: ch 2, *2 fpdc, 7 dc, 2dc in next dc* rep from * to * around, join with 1 ss (66)
Rnd 11: ch 2, *2fpdc, 9 dc* rep from * to * around, join with 1 ss (66)
Rnd 12: ch 2, * 2fpdc, 9bpdc* rep from * to * around, join with 1 ss (66)
Rnd 13-17: ch 2, *2 fpdc, 9 dc* rep from * to * around, join with 1 ss (66)
Rnd 18: ch 2, * 2fpdc, 9 bpdc* rep from * to * around, join with 1 ss (66)
Rnd 19: ch 1, *2fpsc, 9 ss* rep from * to * around, join with 1 ss, FO (66)
Here is a pattern for people with bigger heads
Ch 1 or use magic circle, Ch 2
Rnd 1: 12 dc in ring, join with 1 ss, (ch 2 doesn’t count as a dc) (12)
Rnd 2: ch 2, * 2fpdc around next dc, 1 dc* rep from * to * around, join with 1 ss (18)
Rnd 3: ch 2, * 2 fpdc, 2 dc in next dc* rep from * to * around, join with 1 ss (24)
Rnd 4: ch 2, * 2 fpdc, 1 dc, 2 dc in next dc* rep from * to * around, join with 1 ss (30)
Rnd 5: ch 2, * 2 fpdc, 2 dc, 2 dc in next dc* rep from * to * around, join with 1 ss (36)
Rnd 6: ch 2, * 2 fpdc, 3 dc, 2 dc in next dc* rep from * to * around, join with 1 ss (42)
Rnd 7: ch 2, *2 fpdc, 4 bpdc, 2 bpdc around next dc* rep from * to * around, join with 1 ss (48)
Rnd 8: ch 2, *2 fpdc, 5 dc, 2dc in next dc* rep from * to * around, join with 1 ss (54)
Rnd 9: ch 2, *2 fpdc, 6 dc, 2dc in next dc* rep from * to * around, join with 1 ss (60)
Rnd 10: ch 2, *2 fpdc, 7 dc, 2dc in next dc* rep from * to * around, join with 1 ss (66)
Rnd 11: ch 2, *2 fpdc, 8 dc, 2dc in next dc* rep from * to * around, join with 1 ss (72)
Rnd 12&13: ch 2, *2fpdc, 10 dc* rep from * to * around, join with 1 ss (72)
Rnd 14: ch 2, * 2fpdc, 10bpdc* rep from * to * around, join with 1 ss (72)
Rnd 15-20: ch 2, *2 fpdc, 10 dc* rep from * to * around, join with 1 ss (72)
Rnd 21: ch 2, * 2fpdc, 10 bpdc* rep from * to * around, join with 1 ss (72)
Rnd 22: ch 1, *2fpsc, 10 ss* rep from * to * around, join with 1 ss, FO (72)
**********************************************************************
This work by April Folts is licensed under a Creative Commons Attribution-Noncommercial-No Derivative Works 3.0 United States License.
*******************************************************************************
Any donations are welcome and appreciated.
Friday, September 4, 2009
Female Vamp Goth Doll
This chick has been a problem child from the start. First I was going to make Bella (from Twilight) then I changed my mind and wanted to make Alice. She is just going be who she wants to be. I was trying a new technique and kept having problems. (I had to re do the arms and legs twice and I ran out of thread and then funfur) I finally got it down though. What do ya think?
Pattern Available at My Etsy Shop.
I finally decided on a name. Zandra. It sounds Gothish ;)
Pattern Available at My Etsy Shop.
I finally decided on a name. Zandra. It sounds Gothish ;)
Tuesday, September 1, 2009
Stars the black kitten
I made this for my daughter. She kept bugging me to make a kitty. So I made her on finally. Then after I made it she was mad that it wasn't orange. She played with it anyway though LOL. She has this new obsession with stars so when I asked her what it's name was she said STARS ;D
Pattern available in My Etsy Shop if anyone is interested.
Thanks for Looking ;D
Pattern available in My Etsy Shop if anyone is interested.
Thanks for Looking ;D
Subscribe to:
Posts (Atom)