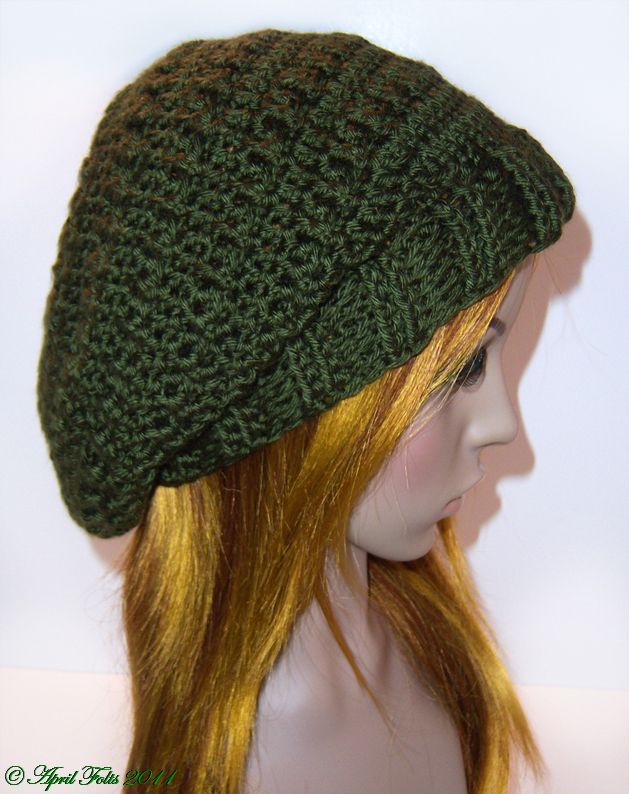
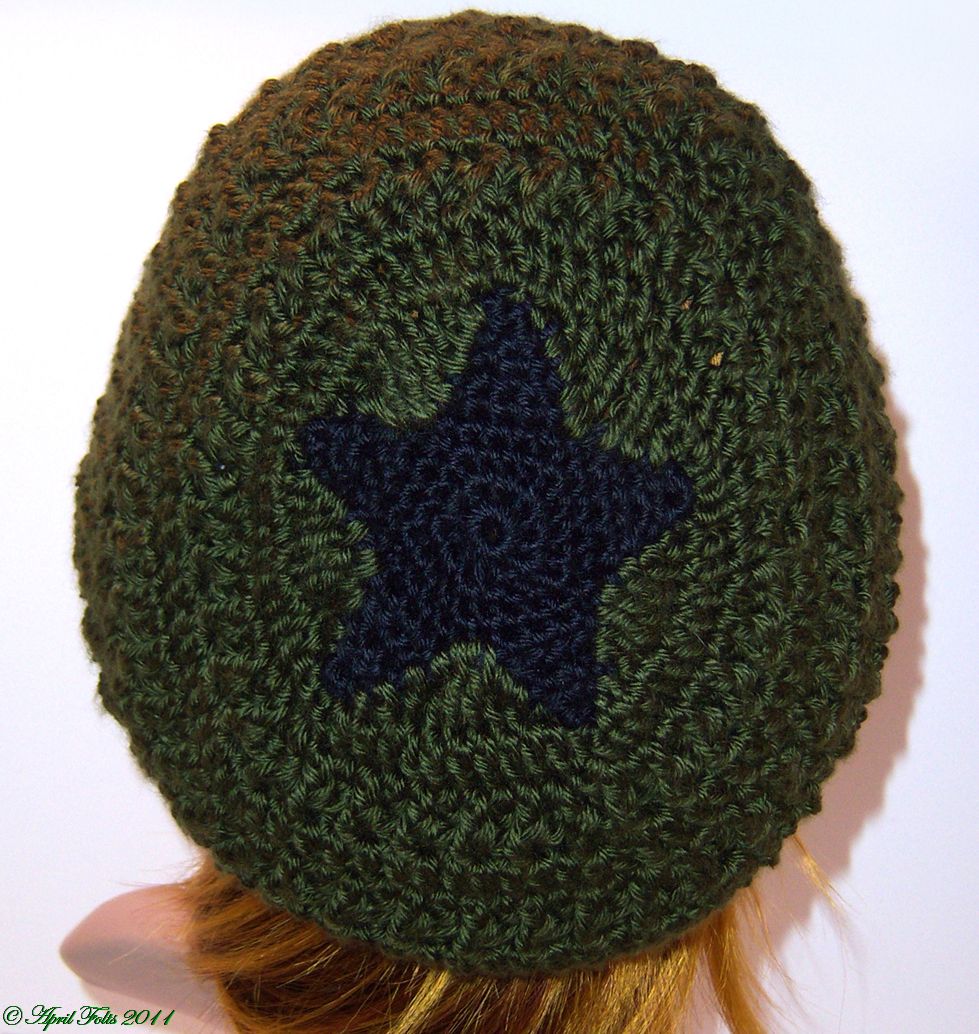
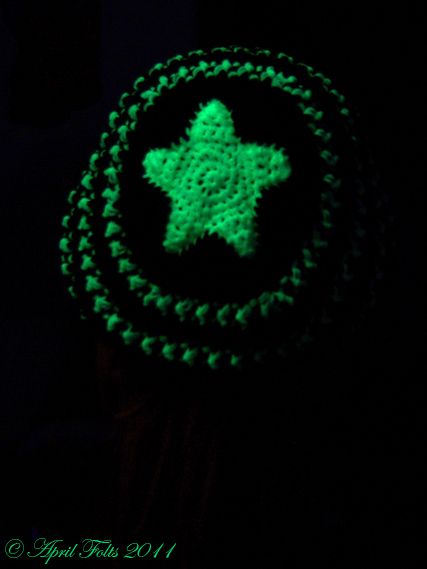
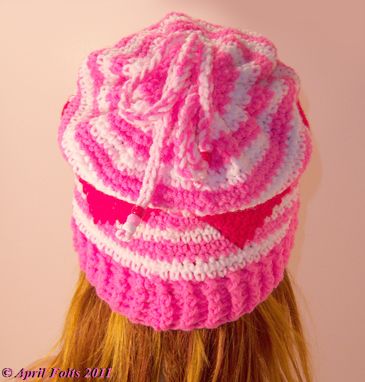
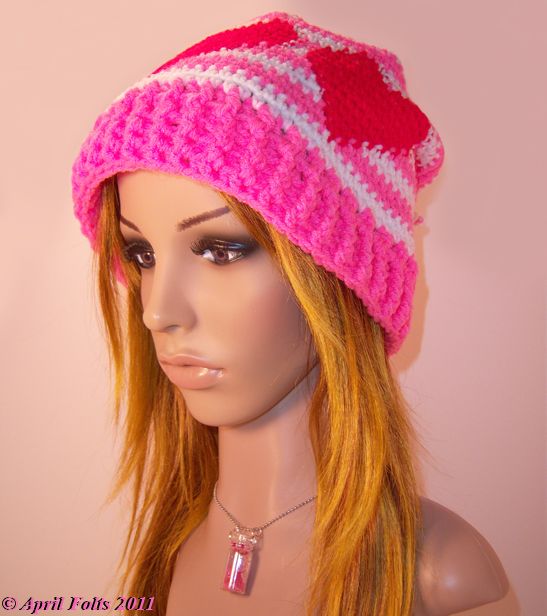
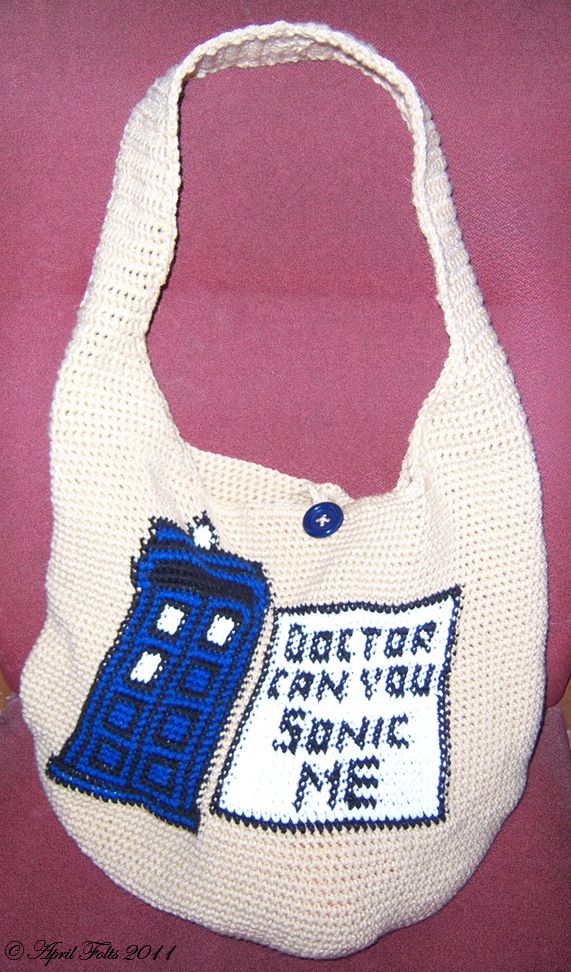
Here is one of the large projects I have been working on. (well large for me since it is all single crochet) I have been working on it off and on since June. I have a short attention span lol. What do you think?
Here is
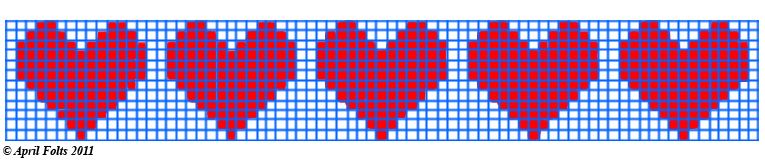
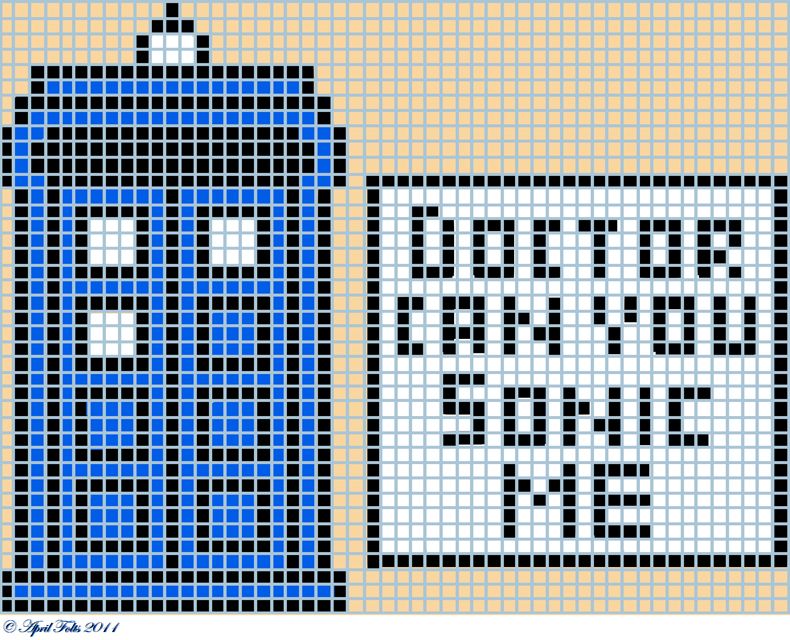
a link that might help if you don't know how to use a chart
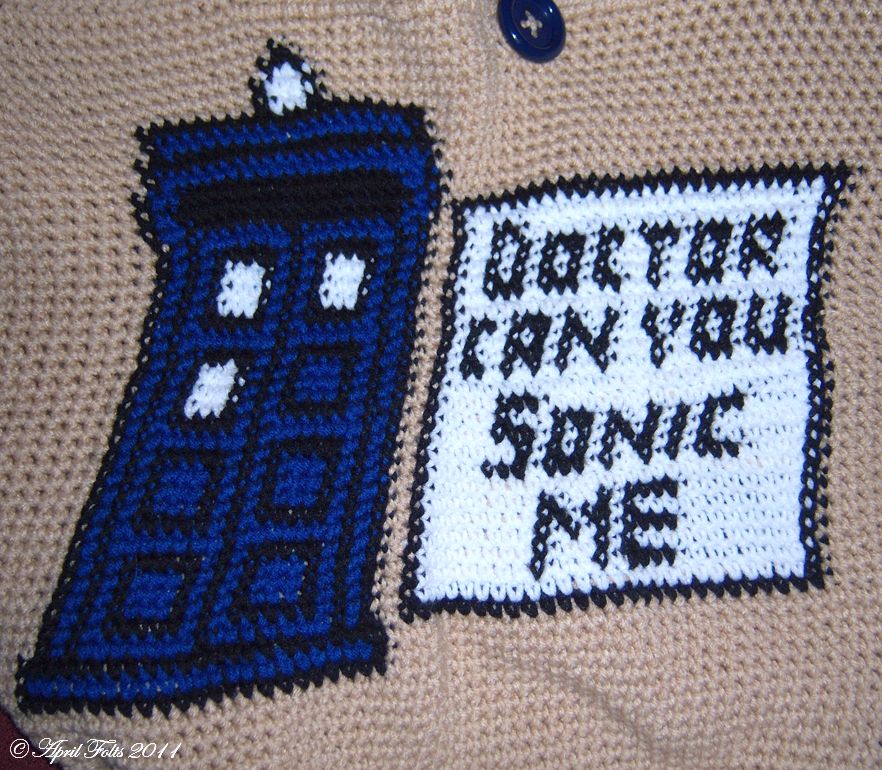
Doctor Who Crochet Bag
© April Draven (Folts) 2011
This is a free pattern. All I ask is for you to credit me if you use my pattern or chart in any way. I just want people to know I was the one who designed it.
Hook Size: H hook
(2) 7 oz skeins of main color yarn
With main bag color: Form a Magic Circle (AKA: Adjustable Ring) (you could also just form a circle how you normally would) Ch 1
Rnd 1: 10 sc in ring, insert marker, Do not join with 1 ss.
Rnd 2: 2 sc in each sc around (20)
Rnd 3: *1 sc, 2 sc in next sc* rep from * to * around (30)
Rnd 4: *2 sc, 2 sc in next sc* rep from * to * around (40)
Rnd 5: *3 sc, 2 sc in next sc* rep from * to * around (50)
Rnd 6: *4 sc, 2 sc in next sc* rep from * to * around (60)
Rnd 7: *5 sc, 2 sc in next sc* rep from * to * around (70)
Rnd 8: *6 sc, 2 sc in next sc* rep from * to * around (80)
Rnd 9: *7 sc, 2 sc in next sc* rep from * to * around (90)
Rnd 10: *8 sc, 2 sc in next sc* rep from * to * around (100)
Rnd 11: *9 sc, 2 sc in next sc* rep from * to * around (110)
Rnd 12: *10 sc, 2 sc in next sc* rep from * to * around (120)
Rnd 13: *11 sc, 2 sc in next sc* rep from * to * around (130)
Rnd 14: *12 sc, 2 sc in next sc* rep from * to * around (140)
Rnd 15-32: 1 sc in each sc around (18 rounds)
Rnd 33: 74 sc, start the black on the bottom of the Tardis on the chart. (The reason you do the 74 sc first before starting the chart is so your image will be centered)
Rnd 34-72: working the chart, 1 sc in each sc
Rnd 73-75: With main bag color, 1 sc in each sc around (3 rounds)
Handles:
Row 1: ch 1, 52sc, ch 1, turn
Row 2: sc2tog, 31 dc, sc2tog, ch 1, turn
Row 3: sc2tog, 29 dc, sc2tog, ch 1, turn
Row 4: sc2tog, 27 dc, sc2tog, ch 1, turn
Row 5: sc2tog, 25 dc, sc2tog, ch 1, turn
Row 6: sc2tog, 23 dc, sc2tog, ch 1, turn
Row 7: sc2tog, 21 dc, sc2tog, ch 1, turn
Row 8: sc2tog, 19 dc, sc2tog, ch 1, turn
Row 9: sc2tog, 17 dc, sc2tog, ch 1, turn
Row 10: sc2tog, 15 dc, sc2tog, ch 1, turn
Row 11: sc2tog, 13 dc, sc2tog, ch 1, turn
Row 12: sc2tog, 11 dc, sc2tog, ch 1, turn
Rows 13-43: 11 sc, ch 1, turn (30 rows)
Sc down the side
70 sc, Repeat Rows 2-43
sc down side, 18 sc, 1 ss, FO
Sew straps together
Attach yarn to where you sewed the straps and sc around the edge repeat the same on the other side (this makes the trim look smoother, also you could make the trim a different color for an added effect)
Sew button on and make your loop however you want. I just chained 10 and attached a loop to the back. I think I might make a thicker loop later.