Monday, April 30, 2012

Other Stuffage

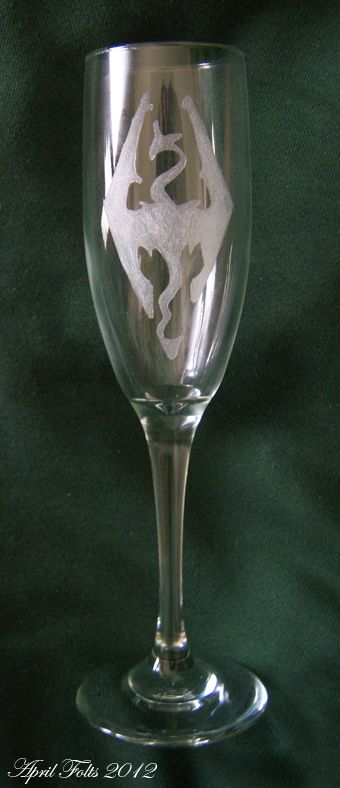
I just wanted to let you all know that I am still alive and everything is fine. I haven't really felt like crocheting lately so that is why there haven’t been any new patterns. I have still been crafting just not crocheting. I will post more patterns in the future so please don't give up on me :) Anyways, here are some pictures of some of the other stuff I have made. I know it isn't crochet and I debated on whether or not to post it, but I figured it would still be ok :) Take Care Everyone! The glasses are hand etched, the masks are made out of pine needles, and the pictures are drawings/paintings I made :)

Saturday, March 10, 2012

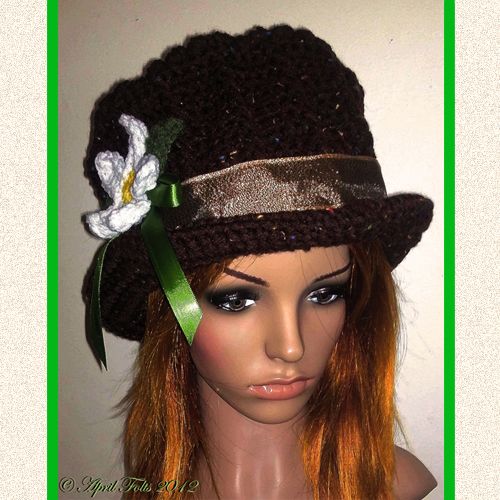
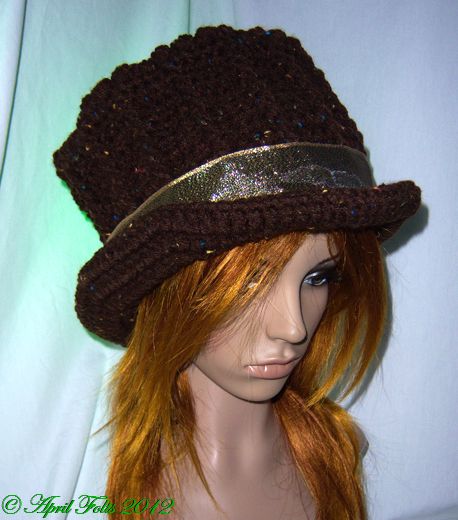
Woodland Top Hat

With all of this snow I have been thinking of Spring. How fun it will be to go hiking in the woods ;) I wanted to make a hat that I could wear to keep the flies off my head and the sun out of my eyes. This is the design I came up with. Oh and I am excited I finally get to use my "man" mannequin head. Unfortunately, I can only take side view pictures of him because whoever painted his eyes made him look like he had a lazy eye and he looks horrible. Oh well. It still works lol ;D What do you think? I have the pattern available for $3 in my Etsy shop if anyone is interested. Have a Great Day everyone :)


Tuesday, February 7, 2012

Zipper Pony (Pony with a Zipper Pocket)

I made this for my Daughter as a Yule gift. She has been begging me for an Orange Pony for years now. I was trying to think of a new pattern, since I already have a few pony patterns, and then the idea to put a pocket in it came to my mind. It is a little girl's dream come true. A pony with a pocket to stash stuff. There are so many things she can put in it. Money, candy storage, treasures, rice pack, herbal sachets. jewelery, ect... the list goes on and on. She loves it. I was thinking about making one for me too hehe. I have the pattern available in my Etsy Shop for $6.20 if anyone is interested. What do you think?


Wednesday, December 7, 2011

Simply Sweet Scarf Free Crochet Pattern

I really love this scarf. It is quick and it is just a huge circle. It is super comfortable and doesn't have those long tails to worry about. (I didn't come up with the idea for a circle scarf. I have seen them before in the store. This is just my version of it) I am going to make one for my daughter next. Last year one of the kids at school pulled on the tails of my daughter's scarf and it choked her. Now she is afraid to wear scarfs. This way she won't have to worry about that, hopefully. I modeled it a few different ways so you could see how awesome it is. (I really hate modeling but I didn't have anyone else around to con into being my model and my mannequin head doesn't have shoulders :( ) What do you think?

Wrapped around 3 times


Wrapped around 2 times


Wrapped around 2 times and cinched up close to neck


Wrapped around 2 times a little looser


Fold in half and slide in loop (I hope that makes sense)


Here is the pattern:

Simply Sweet Scarf
by April Draven

K hook

4.5 oz. Simply Soft Yarn

This scarf measures about 80 inches around. If you don’t know how to work in rounds you can always skip the joining part and just sew it together when it is done. You wrap it around a couple times so you could hide the seam easily ;)

Ch 200, join with 1 ss
Rnd 1: Ch 3, sk 1, 1 dc, *ch 1, sk 1, 1dc*rep from * to * around, Join with 1 ss
Rnds 2-13: Ch 3, * 1 dc in the next ch 1 space, ch 1* rep from * to * around, Join with 1 ss
1 ss, FO

Cotton Candy Bunny Hat

My daughter brought home the Velveteen Bunny book from school. (ah the memories of balling like a baby when I first read that book as a child. Fortunately, this was a child's version so it wasn't so bad) I plan on making her a bunny soon but I don't know when I will be able to get to it. I might make it a Yule Gift if time allows lol. I made her this hat for now. I had some baby yarn left over from a hat I made a long time ago so I used it to make it soft and fluffy. I didn't really expect her to wear it to school because to me it looked like a baby hat (probably because the yarn was marketed that way) but when she got to school everyone swarmed her. They loved it. Now it is her current favorite hat. I love it when I can make something she loves ;D What do you think? I have the pattern available for $3 in my Etsy Shop if anyone is interested :)


Tuesday, November 22, 2011

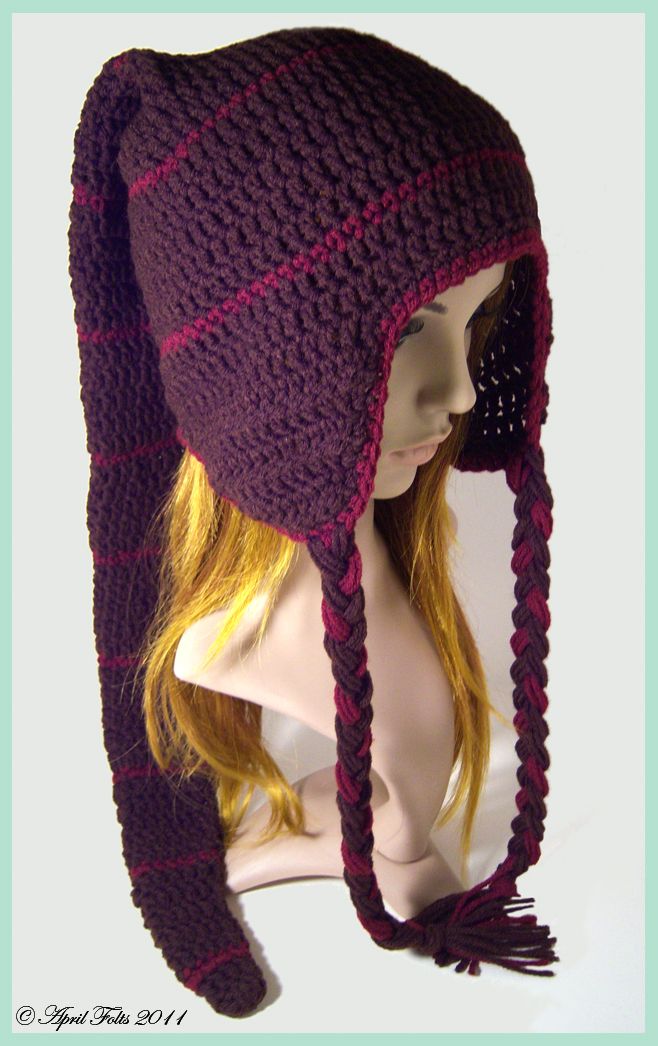
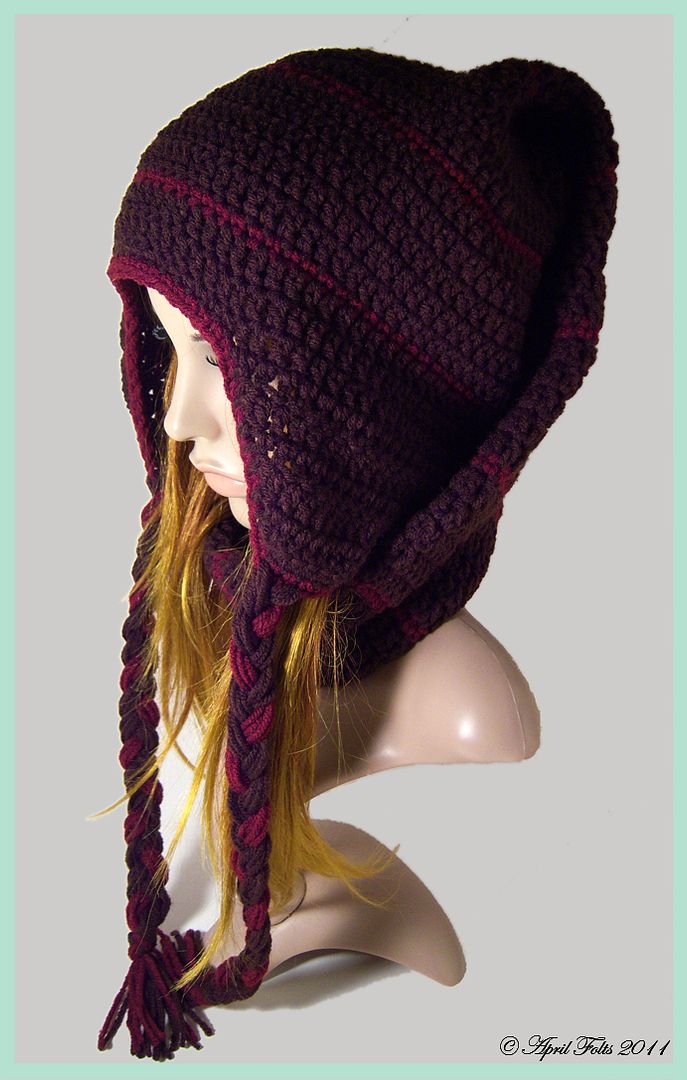
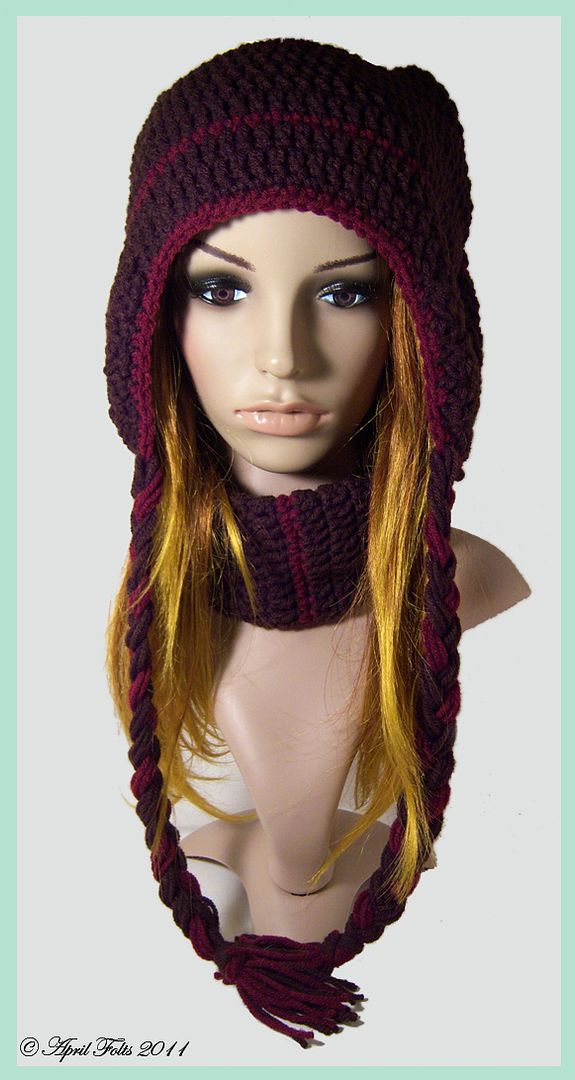
Goblin Earflap Hat Pattern

For some reason with the colors of this hat it reminded me of a Goblin. I made this as a Yule gift for my friend Kathrine (Kathrine: you knew it was for you ;) lol) I wanted to make a hat that was long enough for a scarf but wasn't super bulky toward the top of the hat. The tail is skinnier than the other hats I have made in the past. I like it. Less time to make lol. What do you think? I have the pattern available in My Etsy Shop for $3.00 if anyone is interested :)


Sunday, November 20, 2011

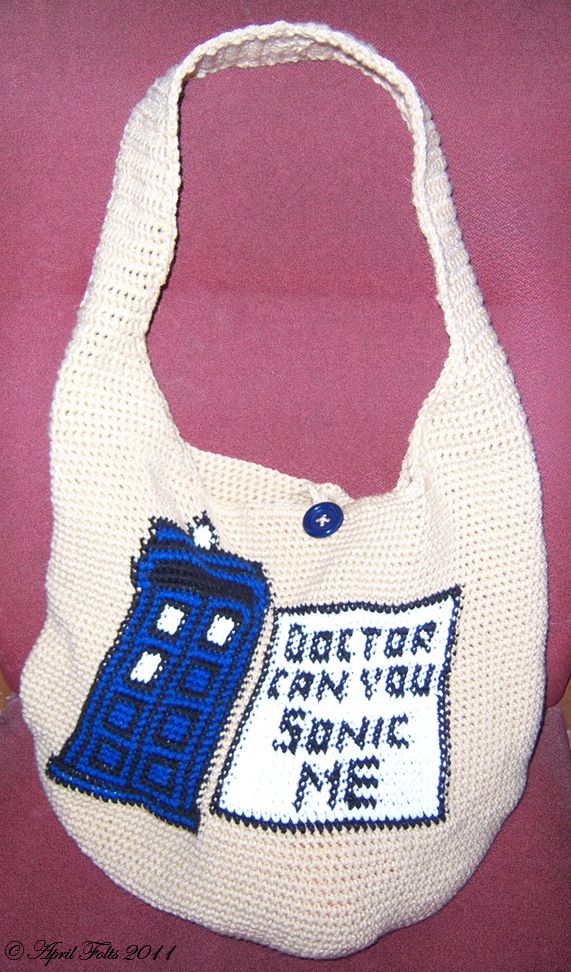
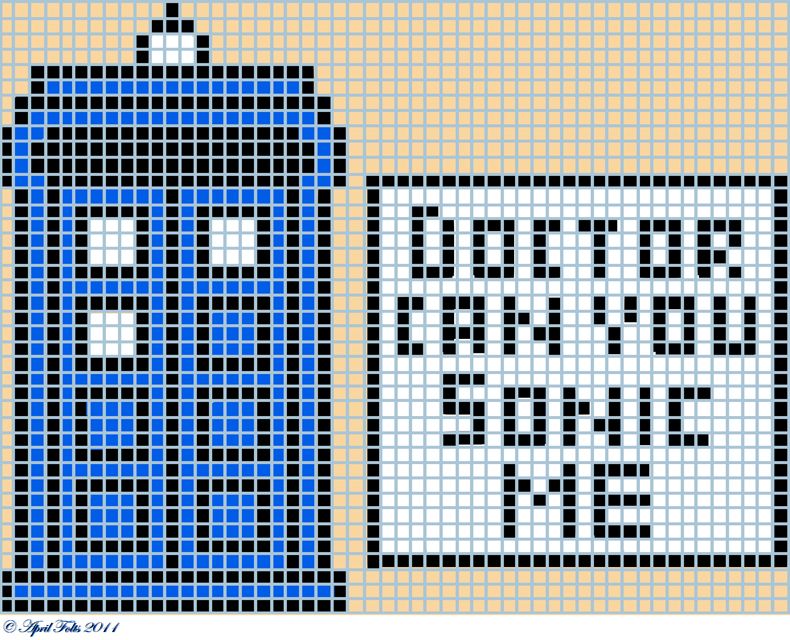
Doctor Who Crochet Bag

Here is one of the large projects I have been working on. (well large for me since it is all single crochet) I have been working on it off and on since June. I have a short attention span lol. What do you think?
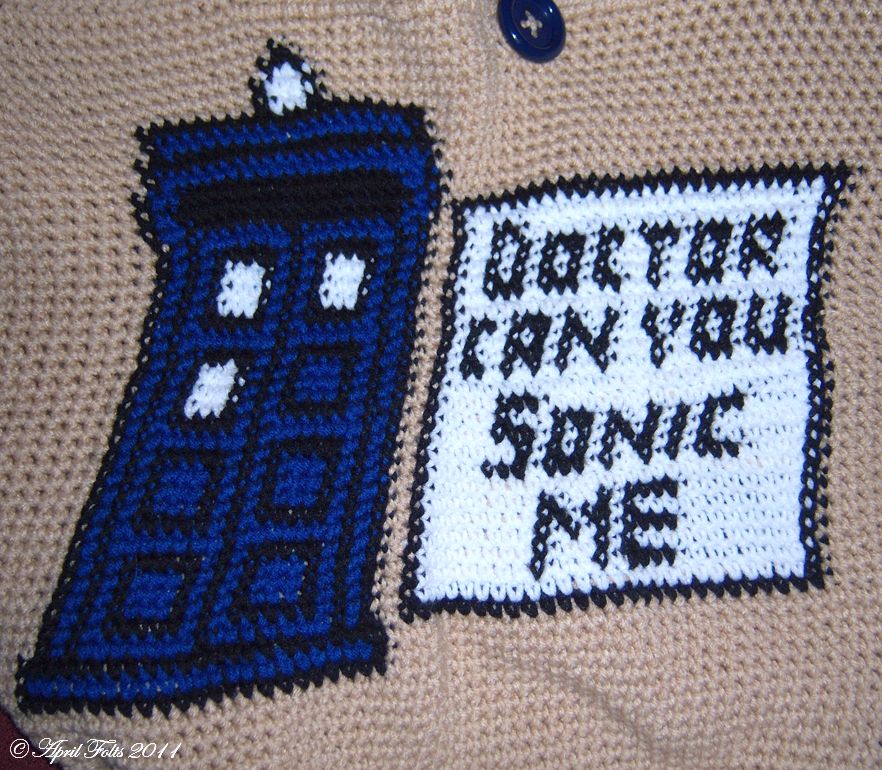


Here is a link that might help if you don't know how to use a chart

Doctor Who Crochet Bag
© April Draven (Folts) 2011

This is a free pattern. All I ask is for you to credit me if you use my pattern or chart in any way. I just want people to know I was the one who designed it.


Hook Size: H hook
(2) 7 oz skeins of main color yarn

With main bag color: Form a Magic Circle (AKA: Adjustable Ring) (you could also just form a circle how you normally would) Ch 1
Rnd 1: 10 sc in ring, insert marker, Do not join with 1 ss.
Rnd 2: 2 sc in each sc around (20)
Rnd 3: *1 sc, 2 sc in next sc* rep from * to * around (30)
Rnd 4: *2 sc, 2 sc in next sc* rep from * to * around (40)
Rnd 5: *3 sc, 2 sc in next sc* rep from * to * around (50)
Rnd 6: *4 sc, 2 sc in next sc* rep from * to * around (60)
Rnd 7: *5 sc, 2 sc in next sc* rep from * to * around (70)
Rnd 8: *6 sc, 2 sc in next sc* rep from * to * around (80)
Rnd 9: *7 sc, 2 sc in next sc* rep from * to * around (90)
Rnd 10: *8 sc, 2 sc in next sc* rep from * to * around (100)
Rnd 11: *9 sc, 2 sc in next sc* rep from * to * around (110)
Rnd 12: *10 sc, 2 sc in next sc* rep from * to * around (120)
Rnd 13: *11 sc, 2 sc in next sc* rep from * to * around (130)
Rnd 14: *12 sc, 2 sc in next sc* rep from * to * around (140)
Rnd 15-32: 1 sc in each sc around (18 rounds)
Rnd 33: 74 sc, start the black on the bottom of the Tardis on the chart. (The reason you do the 74 sc first before starting the chart is so your image will be centered)
Rnd 34-72: working the chart, 1 sc in each sc
Rnd 73-75: With main bag color, 1 sc in each sc around (3 rounds)

Handles:

Row 1: ch 1, 52sc, ch 1, turn
Row 2: sc2tog, 31 dc, sc2tog, ch 1, turn
Row 3: sc2tog, 29 dc, sc2tog, ch 1, turn
Row 4: sc2tog, 27 dc, sc2tog, ch 1, turn
Row 5: sc2tog, 25 dc, sc2tog, ch 1, turn
Row 6: sc2tog, 23 dc, sc2tog, ch 1, turn
Row 7: sc2tog, 21 dc, sc2tog, ch 1, turn
Row 8: sc2tog, 19 dc, sc2tog, ch 1, turn
Row 9: sc2tog, 17 dc, sc2tog, ch 1, turn
Row 10: sc2tog, 15 dc, sc2tog, ch 1, turn
Row 11: sc2tog, 13 dc, sc2tog, ch 1, turn
Row 12: sc2tog, 11 dc, sc2tog, ch 1, turn
Rows 13-43: 11 sc, ch 1, turn (30 rows)
Sc down the side
70 sc, Repeat Rows 2-43
sc down side, 18 sc, 1 ss, FO
Sew straps together
Attach yarn to where you sewed the straps and sc around the edge repeat the same on the other side (this makes the trim look smoother, also you could make the trim a different color for an added effect)
Sew button on and make your loop however you want. I just chained 10 and attached a loop to the back. I think I might make a thicker loop later.