
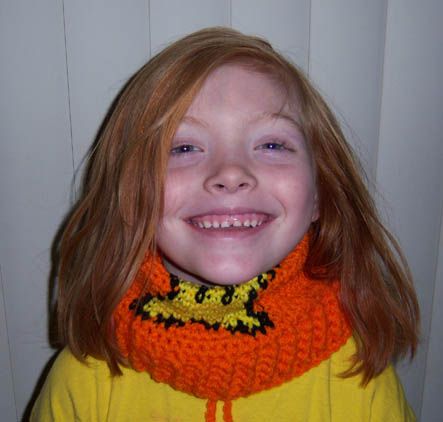
Ok on to the pattern...
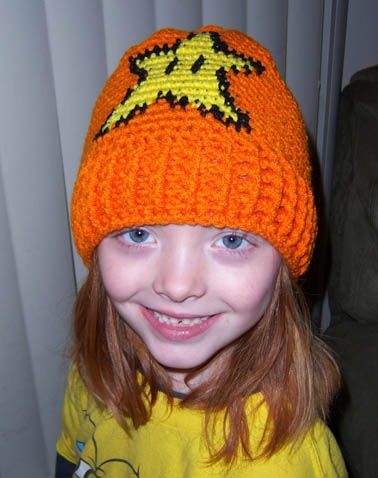
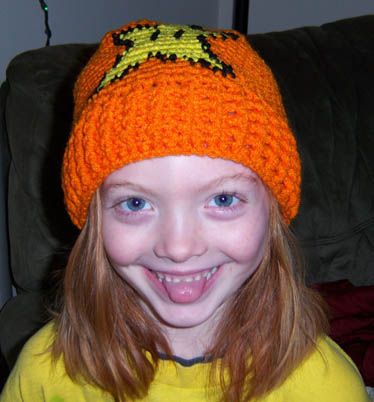
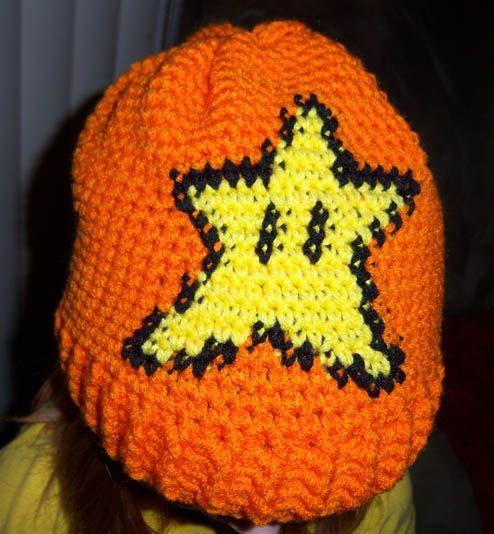
Child's Invincibility Star Convertible Hat
By: AprilDraven
for personal use only
Yarn: regular 4 ply worsted yarn
abbreviation meanings:
sc: single crochet
dc: double crochet
fp: Front post
bp: back post
ss: slip stitch
sk: skip
FO: Fasten Off
H/8-5.00MM hook
100% Acrylic yarn (the cheap stuff LOL)
with main color ch 60 join to first ch with a ss to form a circle (or chain enough to go around your head or the Child's), ch 1
Rnd 1: sc in each ch around, join with a ss to top of first sc, ch 2
Rnd 2-6: *1dcfp, 1dcbp* repeat from * to * around, join with a ss to top of first dc, ch 2 (5 rounds) (on the end of the 5th round ch 1 instead of chaining 2)
Rnd 7: sc in each dc around, insert marker because from now on you will be working in the round
Rnd 8: 22 sc, Start the star pattern. I figured out the 22 by taking the amount of stitches the star was across and subtracting that number from how many stitches I had and then divided that number by 2. That will put the star on the front of the hat. So if you are making an adult hat or are putting another charted thing on it (I have a Mario mushroom and a NIN chart that would work too)that is how to do it.
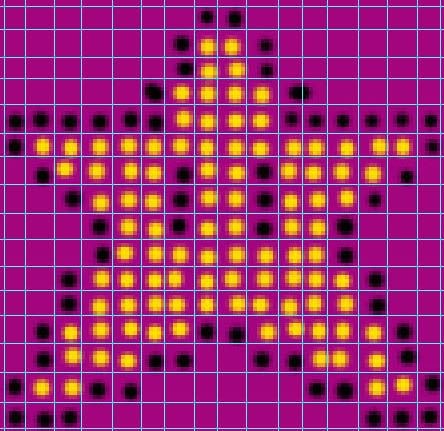
Rnd 9-32: sc in each sc around (23 rounds if making an adult hat keep going until it reaches about 10 inches, You might have to keep going even more than that if you have a bigger head)
Last Round: join with 1 ss, ch 2, sk 1, 2 sc *ch 1, sk 1, 2 sc* rep from * to * around, Join with 1 ss, FO
for the top tie ch 140 FO and weave around the top holes and cinch shut and tie a bow. add beads to the end ties and you are done :D
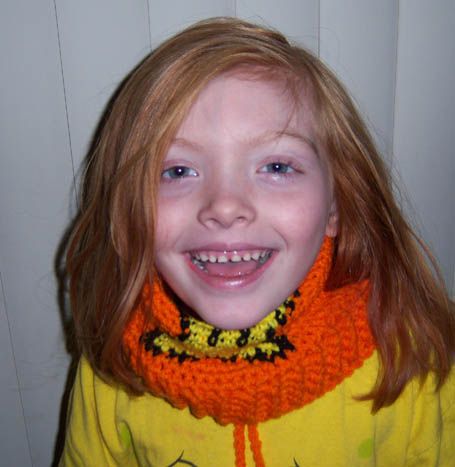
You can wear the hat as a slouchy hat, Pull your hair through the hole in the top, fold up the brim, or wear it as a scarf.
**********************************************************************

This work by April Folts is licensed under a Creative Commons Attribution-Noncommercial-No Derivative Works 3.0 United States License.
***********************************************************************

Very cute!
ReplyDeleteYour daughter is so cute! Love the red hair... oh, the hat is adorable, too!
ReplyDeleteLOL Love tyhe 2nd pic, April she is adorable.
ReplyDeletePaulasHook: Thanks!
ReplyDeleteMel: haha Thanks. Everyone is always asking us where she gets the red hair from lol
Renee: Thanks. Getting her to stand still is a feat. haha. It does make for some silly pictures though :)
adorable!
ReplyDeletethis hat is so cute! Your little one too! Im going to make one for my son - he loves nintendo stuff
ReplyDeleteI love seeing your daughter in her goofy poses April....she looks like such a fun kid!! She really DOES look like Dakota Fanning!!!
ReplyDeleteAnother wonderful hat...will for sure be making this one...maybe the mario mushroom would make a good convertible too...hmmm...using my noodle now...lol!!
Thanks for sharing another great pattern. Now go get your gifts made!!!
Thanks! She really is a fun kid :)I already have one gift done :) I'm on top of it ;)I just wanted to post what I could before Yule because a lot of people might want to make it for a gift :)
ReplyDeleteThis is so, so cute! I love it, I'll be linking. And I totally see the Dakota Fanning. =)
ReplyDeleteWhat an awesomely surprising idea!!
ReplyDeleteI made one for my son and one for my daughter. I put the first letter of their names on each too. And my daughter, who hates to have her hair brushed and put up, wears her hair through it and it looks uber cute! My son's 3 and daughter is almost 5 and I had to increase the size of the hat to 72 sc around in order for it to fit. GREAT pattern!!
ReplyDeleteThanks Everyone! :)
ReplyDeleteThis comment has been removed by a blog administrator.
ReplyDeleteThis comment has been removed by a blog administrator.
ReplyDeleteThanks, April, for this awesome pattern! I made my son one and now the hubs wants one too. My nephews flipped when they saw the mushroom beanies so I'm going to be making them those too!
ReplyDeleteThanks! I'm glad so many people like it :)
ReplyDeletehttp://tinyurl.com/3v948fc
ReplyDeleteI used your pattern and tutorial to make this hat. Gifting it to a little girl's birthday ritual.
I used your star chart/pattern to make a new dice bag for myself! Check it out! http://www.facebook.com/photo.php?fbid=526929174658&set=a.507457875298.2026389.210700448&type=1&theater
ReplyDeleteDo you break the yarn and weave in at every color change on the chart? I tried that the first time & weaving in the ends was a nightmare. On the second attempt, I made the star separately, did a single crochet of black around the edges, then crocheted back and forth vs in the round when I started joining the star into my work. I liked the result much better, but ended up with a little bit of puckering (probably because I counted wrong) around the star. Wondered what methods other people used.
ReplyDeleteHi I love this hat, my school is having a summer fayre to raise funds for the school, in your pattern you said personal use only. Does that mean I would not be able to make this hat and label it with your name and website and then sell it? Is my understanding right? (sorry new to this stuff!!)By the way I ADORE this hat, I think my son would LOVE it :D
ReplyDeleteThings have changed since then. Just give me credit for the pattern and you can sell it :)
ReplyDeleteHi, I love this pattern, but I cant figure out how to crochet the star onto the hat :(
ReplyDelete