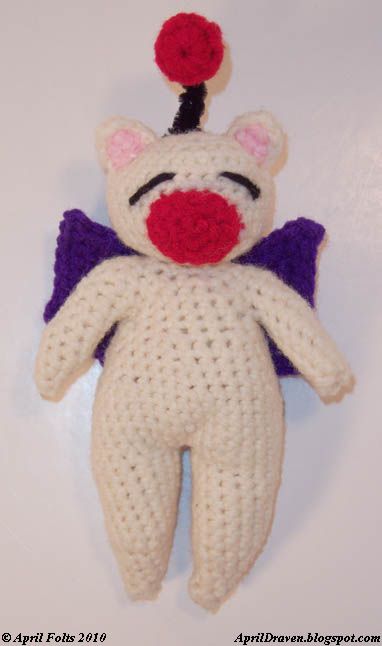
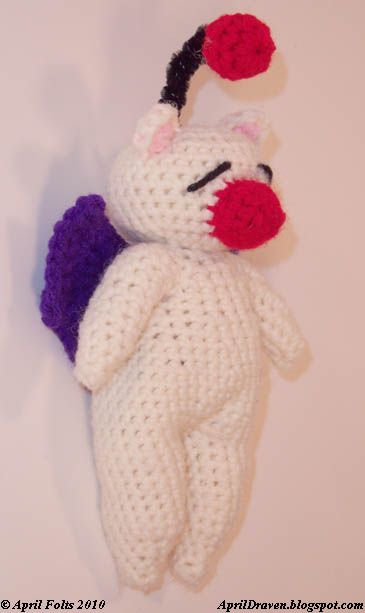
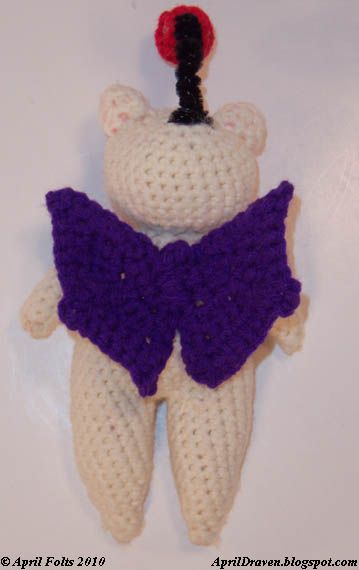
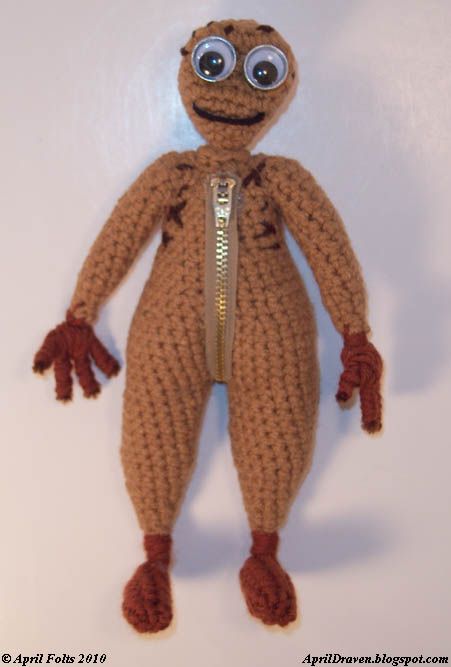
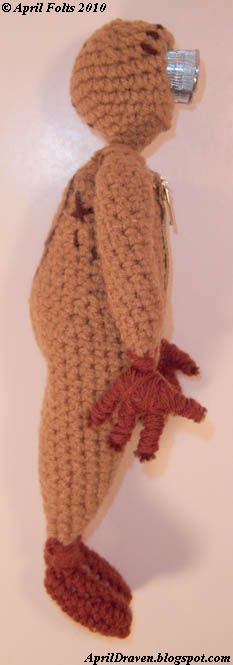
I am still on my crochet hiatus, but I had to crochet this 9 doll. This is from Tim Burton & Timur Bekmambetov's movie 9. I saw the movie and fell in love. At first I made 9 without a black mouth and then my daughter told me to give him a black mouth. I think it looks good both ways. I can't decide which I like better :) He was defiantly a challenge. What do you think?


*Note: This pattern hasn't been tested yet so if you run into any problems let me know and I will do my best to help*
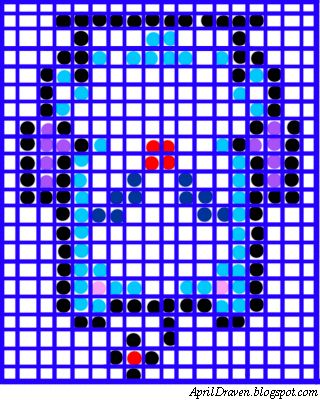
9
By: AprilDraven
for personal use only
3.25 MM hook
Yarn: Worsted 4 ply yarn.
Abbreviations:
Ch: chain
Rnd: round
Sc: single crochet
sc2tog: Single Crochet 2 together or Decrease 1
Ss: slip stitch
sk: skip
FO: Fasten off
Arms (Make 2)
Rnd 1: with magic circle Ch 1, 4 sc in ring (4)
Rnd 2: 4 sc around (4)
Rnd 3: 2 sc in each sc (8)
Rnd 4-12: sc in each sc around (9 rounds)
1 ss, FO
set aside
Legs (make 2)
Rnd 1: with magic circle Ch 1, 4 sc in ring (4)
Rnd 2: 4 sc around (4)
Rnd 3: 2 sc in each sc (8)
Rnd 4: 8 sc around (8)
Rnd 5: *1 sc, 2 sc in next sc* rep from * to * around (12)
Rnd 6: 12 sc around (12)
Rnd 7: *2 sc, 2 sc in next sc* rep from * to * around (16)
Rnd 8-14: 16 sc around (7 rounds)
1 ss, FO
hold the two legs together and attach yarn to one leg.
12 sc, ch 6, then join to other leg anywhere, ch 1, 12 sc, ch 6,
then join to where you started. This should form a circle with the legs attached.
ch 1, 38 sc, add marker, sew middle 3 stitches together then sew the inner holes to the legs.
Your work should be one piece now.
*NOTE: If this is too hard just chain 38 sc and make the entire body then sew the middle 3 stitches together and then sew the
legs on.*
Body
Rnd 1-4: Sc in each sc (4 rounds, 38 stitches)
Rnd 5: *3 sc, sc2tog* rep from * to * around (31)
Rnd 6: sc in each sc around (1 round)
Rnd 7: *4 sc, sc2tog* rep from * to * around (at the end section of the pattern dec 1, 1 sc)
Rnd 8&9: sc in each sc around (2 rounds)
Rnd 10: *5 sc, sc2tog* rep from * to * around (23)
Rnd 11-13: sc in each sc around (3 rounds)
ss 1, FO
sew 4 stitches of the arm to the side of the body, repeat to the other side.
Rnd 1: join with 1 ss to back of neck area. Sc around entire piece. This forms the shoulders. (36)
Rnd 2: *2 sc, sc2tog* rep from * to * around
Rnd 3: *1 sc, sc2tog* rep from * to * around
Rnd 4: sc2tog 9 times, FO
fill with beans then fill the top with stuffing.
with dark brown sew on stitches
Head
Rnd 1: with magic circle ch 1, 8 sc in ring
Rnd 2: 8 sc around
Rnd 3: *1 sc, 2 sc in next sc* rep from * to * around
Rnd 4: *2 sc, 2 sc in next sc* rep from * to * around
Rnd 5: *3 sc, 2 sc in next sc* rep from * to * around
Rnd 6: *4 sc, 2 sc in next sc* rep from * to * around
Rnd 7: sc in each sc around
Rnd 8: ch 3, sk 3, 2 sc, ch 3, sk 3, sc 16 (this creates the 2 holes for the eyes)
Rnd 9: *4 sc, sc2tog* rep from * to * around
Rnd 10: *3 sc, sc2tog* rep from * to * around
cut a small piece of plastic or cardboard big enough to go behind the eyes. This gives the Thimbles something to be glued to.
stick the thimbles through the holes and hot glue them to your piece of plastic or cardboard. Add a little glue around the
eye socket on the inside so the eyes don't slide around. Stuff head firmly.
Rnd 11: *2 sc, sc2tog* rep from * to * around
Rnd 12: sc2tog 8 times, 1 ss, FO, weave hole shut
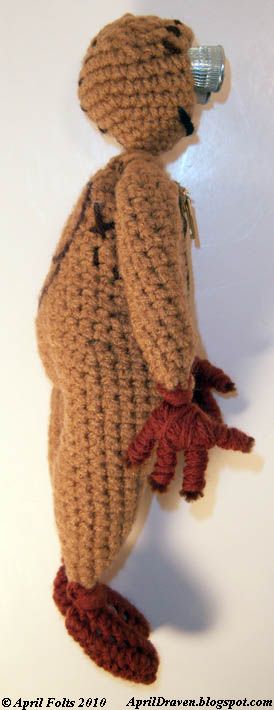
sew head to body and then wrap yarn around neck a bunch of times to form a solid neck.
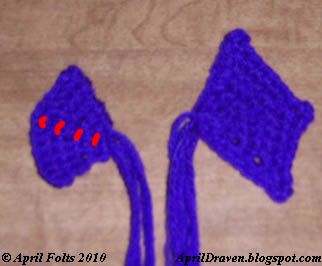
Feet (make 2)
Rnd 1: ch 8, turn, sc in 1 loop of the 2nd ch from hook,6 sc in top loops only,
3 sc in next sc, 6 sc along the other side in 1 loop only.
Rnd 2&3: sc in each sc around (15)
1 ss, FO, sew top shut and stuff as you sew.
sew feet to legs and wrap yarn around ankles a bunch of times.
Finishing touches:
Hot glue zipper on doll
add a 9 on the back with permanent marker
stuff thimbles and hot glue google eyes into it.
make a hand with pipe cleaners and wrap them with yarn. attach to arms and wrap yarn around wrist a bunch of times.
**********************************************************************

This
work by
April Folts is licensed under a
Creative Commons Attribution-Noncommercial-No Derivative Works 3.0 United States License.
***********************************************************************
Any donations are welcome and appreciated.