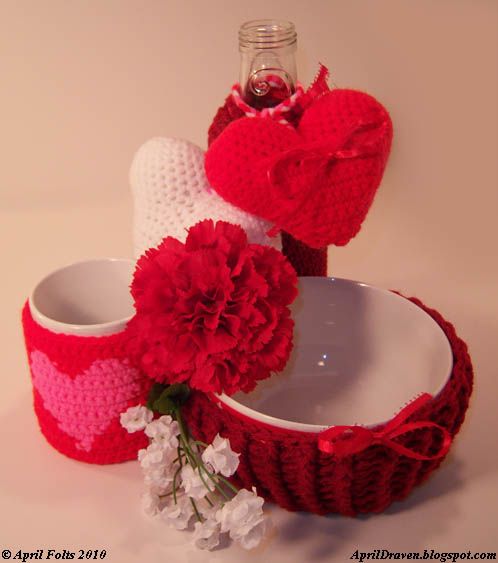
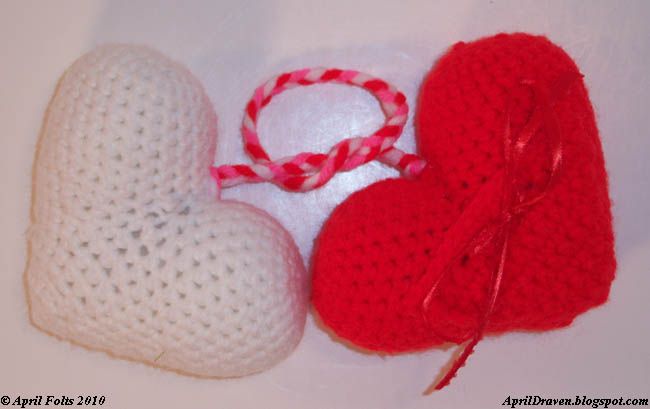
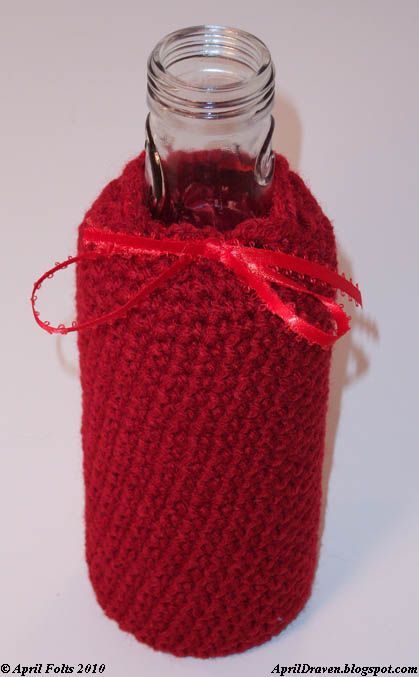
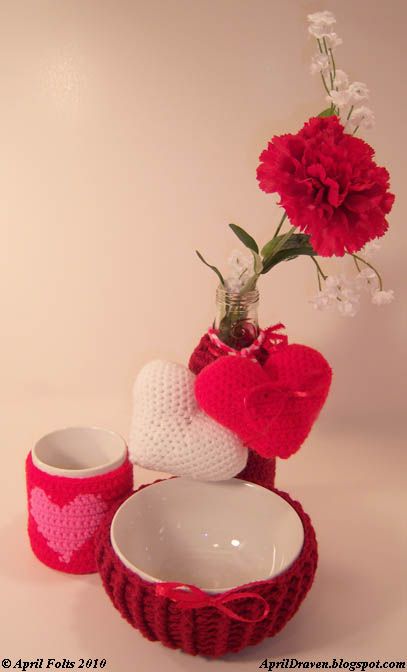
I know this might sound weird but it all started when I was heating a bowl of Oatmeal and burnt my hands on the bowl. I figured that I should make a bowl cozy so that wouldn't happen again lol. After I made it I thought about what other purposes it could have. It can be a bowl on it's own, You can cinch it up and give it as a gift, use it to decorate a bowl, use it as a bowl cover for a floating candle, and much more. Valentine's day is coming up so I wanted to make something cheap and have it look cool. I got a so-be bottle and crocheted around it for a vase. Then I decided to add stuffed hearts. I wanted to personalize it more so I gave one of the hearts a pocket (the red one) so I can add a note to it. I braided a cord and attached it to the hearts then onto the bottle. Then I crocheted a heart coffee cozy. I figured we could have coffee and soup for Valentine's day instead of chocolate. (hey I have to try to stay on a diet and this is a perfect alternative) What do you think?


Hooks: H hook and 3.25 mm hook for the hearts
Yarn: 100% acrylic, Worsted Weight, 4 ply yarn
Abbreviations:
Ch: chain
Rnd: round
sc: single crochet
dc: double crochet
Fpdc: Front post double crochet
Bpdc: Back Post double crochet
Ss: slip stitch
FO: Fasten off
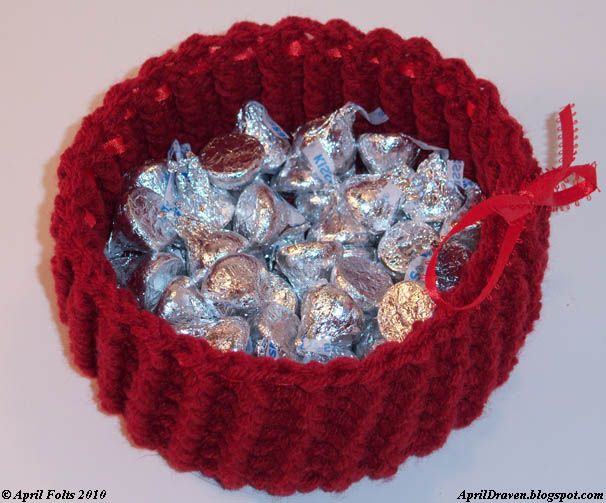
Bowl Cozy
Work in the round using a marker
Rnd 1: Work 8 sc in a ring
Rnd 2: 2 sc in each sc (16)
Rnd 3: *Sc in next sc, 2 sc in next sc*, rep from * to * around (24)
Rnd 4: *Sc in next 2 sc, 2 sc in next sc*, rep from * to * around (32)
Rnd 5: *Sc in next 3 sc, 2 sc in next sc*, rep from * to * around (40)
Rnd 6: 1 Sc in each sc around (1 round)
Rnd 7: *Sc in next 4 sc, 2 sc in next sc*, rep from * to * around (48)
Rnd 8: 1 Sc in each sc around (1 round)
Rnd 9: *Sc in next 5 sc, 2 sc in next sc*, rep from * to * around (56)
join with 1 ss
No longer worked in the round
Rnd 10: ch 1, 1 hdc in each sc around, join with 1 ss
Rnd 11-17: ch 2, *1 fpdc, 1 bpdc* rep from * to * around (7 rounds)
weave a ribbon around the top if desired :)
Bottle Cozy:
Work in the round using a marker
Rnd 1: Work 8 sc in first ch
Rnd 2: 2 sc in each sc (16)
Rnd 3: *Sc in next sc, 2 sc in next sc*, rep from * to * around (24)
Rnd 4: *Sc in next 2 sc, 2 sc in next sc*, rep from * to * around (32)
Rnd 5-33: 1 sc in each sc around, Join with 1 ss (28 rounds)
Rnd 34: ch 3, sk 2, 2 sc *ch 2, sk 2, 2 sc* rep from * to * around, join 1 ss
FO and Weave ribbon or something around to cinch it up.
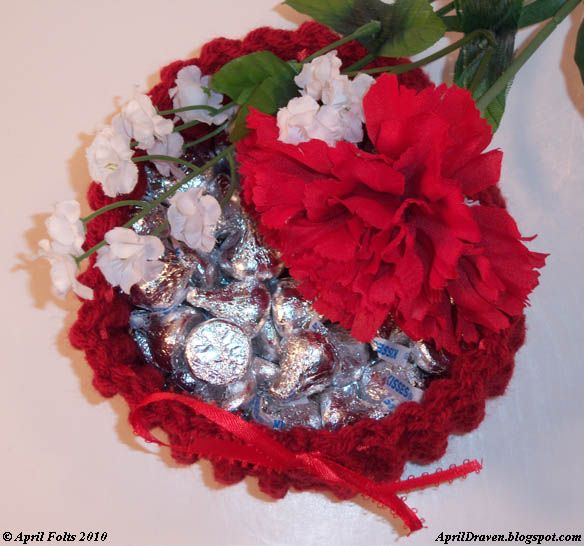
Hearts
Use 3.25 mm Hook:
hump (make 2)
Work in the round using a marker
Rnd 1: Work 8 sc a ring
Rnd 2: 2 sc in each sc (16)
Rnd 3: *Sc in next sc, 2 sc in next sc*, rep from * to * around (24)
Rnd 4-9: 1 sc in each sc around, ss 1, FO
sew middles together 5 stitches
Rnd 1: sc around entire piece (42 stitches)
Rnd 2: *Sc in next 4 sc, Sc2tog*, rep from * to * around (35)
Rnd 3: 1 sc in each sc around (1 round)
Rnd 4: *Sc in next 3 sc, Sc2tog*, rep from * to * around (28)
Rnd 5: 1 sc in each sc around (1 round)
Rnd 6: *Sc in next 2 sc, Sc2tog*, rep from * to * around (21)
Rnd 7: 1 sc in each sc around (1 round)
Stuff
Rnd 8: *1 Sc in next sc, Sc2tog*, rep from * to * around (14)
Rnd 9: 1 sc in each sc around (1 round)
Rnd 10: sc2tog 11 times, ss 1, FO
pocket
Not worked in the round
Row 1: 2 sc in ring, ch 1 turn (2)
Row 2: 2 sc in each stitch, ch 1, turn (4)
Row 3: sc in each sc, ch 1, turn (4)
Row 4: 2 sc in next stitch, 2 sc, 2 sc in next stitch, ch 1, turn (6)
Row 5: 1 sc in each sc, ch 1, turn (1 row)
Row 6: 2 sc in next stitch, 4 sc, 2 sc in next stitch, ch 1, turn ( 8 )
Row 7: 1 sc in each sc, ch 1, turn (1 row)
Row 8: 2 sc in next stitch, 6 sc, 2 sc in next stitch, ch 1, turn (10)
Row 9: 1 sc in each sc, ch 1, turn (1 row)
Row 10: 2 sc in next stitch, 8 sc, 2 sc in next stitch, ch 1, turn (12)
Row 11: 1 sc in each sc, ch 1, turn (1 row)
Row 12: 2 sc in next stitch, 10 sc, 2 sc in next stitch, ch 1, turn (14)
Row 13: 1 sc in each sc, ch 1, turn (1 row)
FO and sew on to heart, put whatever you want into the pocket and then weave a ribbon through the heart and pocket to keep it shut.
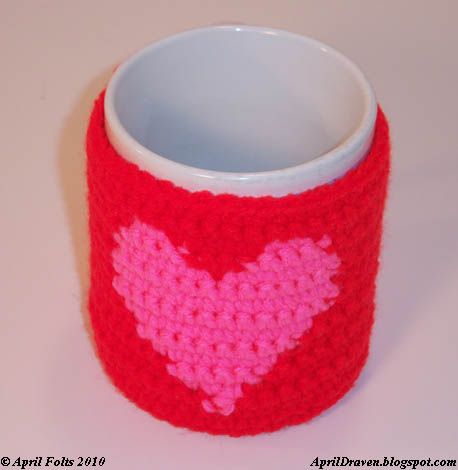
Heart Coffee Cozy:
USE 3.25 MM Hook
Rnd 1: Work 8 sc in circle
Rnd 2: 2 sc in each sc (16)
Rnd 3: *Sc in next sc, 2 sc in next sc*, rep from * to * around (24)
Rnd 4: *Sc in next 2 sc, 2 sc in next sc*, rep from * to * around (32)
Rnd 5: *Sc in next 3 sc, 2 sc in next sc*, rep from * to * around (40)
Rnd 6-9: Sc in each sc around (4 rounds) at the end of the last round ss 1, ch 1, turn
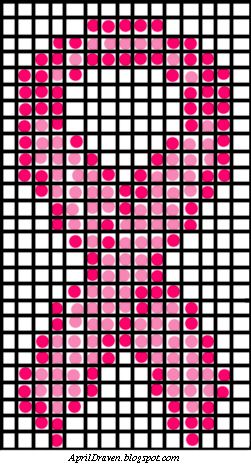
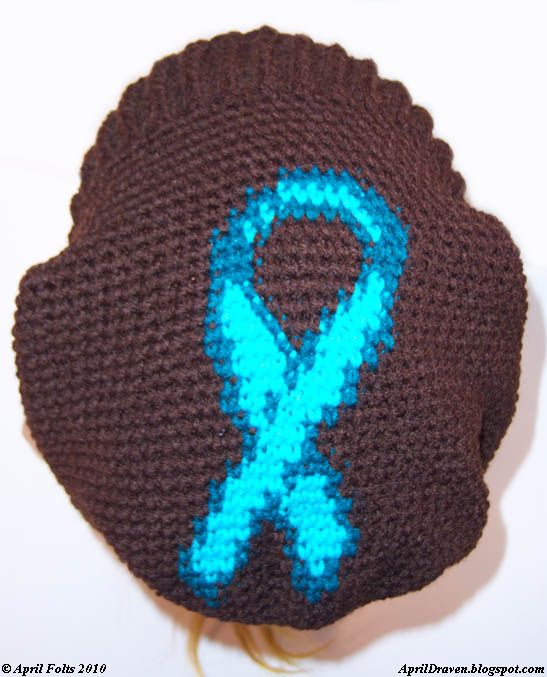
Row 1: 20 sc, start pink on pattern, when you get to the end of this row, ch 1 and turn.
Row 2-14: sc in each sc continuing pattern. At the end of each row ch 1, turn.
Strap:
sc 4 down side, ch 1 turn (repeat 3 more times)
1 sc, ch 2, sk 2, 1 sc, ch 1 turn (this forms hole for button)
sc2tog 2 times, ch 1, turn
sc2tog 1 time, Fo
Attach trim color and sc around border all the way around, *when you get to the tip of the strap put 3 stitches in the tip*
Sew button on where it will be really tight. You don't want it to slide off when you pick it up to take a drink ;)